
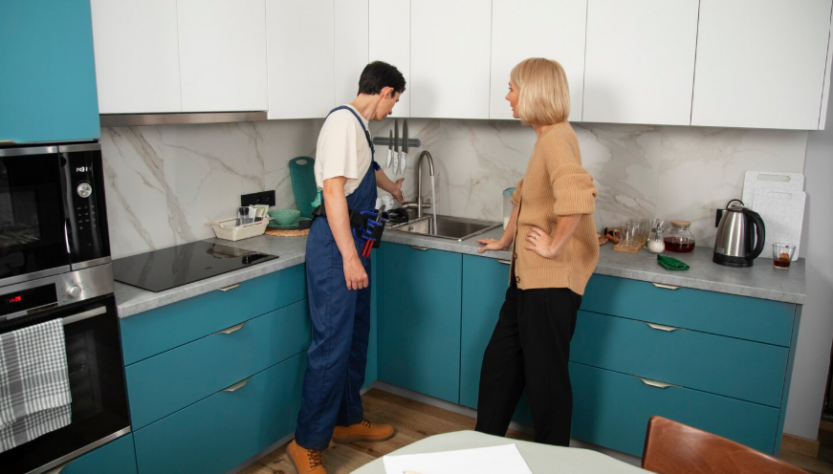
Old cabinet doors can make the whole space seem dull. Yet, you may not need a full renovation to give the space a new look. A good refinishing can lift the room at a far lower cost. The key is not to rush the job. Each step has a role. If you skip preparation, the new coat may chip, peel, or show marks soon. Use these four tips to get a neat and long fix.
1. Remove and Label Everything
Start by taking off each door, knob, and hinge. Do not stack all parts in one pile. It can turn a small job into a long hunt when it is time to put everything back. Use a small tag or bit of tape on each door. Mark its spot, such as top left or base right. Put each screw and hinge in a bag with the same tag. This is a small task, but it can save a lot of time.
Before kitchen cabinet refinishing, you must take a quick picture of each part as you take it off, as it can show how each hinge was set. This is most useful if the old set has odd cuts or mixed parts. Moreover, set each door on a flat, clean mat. Do not lay them on bare tile or rough wood.
2. Deep Clean and Degrease
Paint will not grip well to a dirty cabinet door. Oil buildup and dust can make up thin films. A wipe with a damp rag may not be nearly good enough. So you should use a safe degreaser made for the cabinets. Moreover, work in small zones and use a clean rag for each pass so you do not move the grime from one spot to the next.
You should pay more attention to the zone near the hob. Heat can make oil set hard. Also, check the edge, trim, and door pulling area. These spots get more hand touches than most. And once everything is clean, let each part dry well. Do not sand a wet or damp door. Any wet film can mix with dust and make a poor base.
3. Sand to Create Grip
Sand is not meant to strip each door to raw wood. Its key role is to dull the old coat and give the new paint a firm grip. For this, you can use a fine or pad. Moreover, work in even laps. Do not press hard on thin trim or sharp edges. Too much force can make flat spots or wear down a fine edge. After that, wipe off all dust when done. A soft cloth can be the best option for this.
4. Choose the Best Paint
Not all paint is fit for cabinets. So you should pick a paint that can deal well with heat, damp, and daily wear. Moreover, check if the paint needs a base coat. Some types need a bond coat for a firm hold.
You should use thin paint coats, not one thick coat. Let each coat dry as the label says. The best approach is to test your paint on one spare door or the back of a door first. This lets you see the tone, gloss, and coat feel.